In the previous post, I added all the electronics. Now it’s time to write some code! As you know, I decided to use the RP2040-Zero, which is basically a cut-down version of the Raspberry Pi Pico. Therefore, you can use all the same tools to create the code, namely Thonny and MicroPython. Go ahead and download Thonny, and then we’ll find the correct MicroPython firmware.
The first thing is to connect the RP2040 to your computer, you should see a new drive called RPI-RP2. If you don’t, hold down the BOOTSEL button on the RP2040 as you plug it in, then release it, and the drive should appear.
The RP2040 has a very similar design to the Adafruit QT PY 2040 which means you can use that version of Micropython. In Thonny, go to Tools > Options. Select MicroPython (RP2040) as the interpreter, then click “Install or Update MicroPython.”

Then select the drive path for the RP2040 as the “Target Volume”. As the MicroPython variant, select “Adafruit Qt Py RP2040” and the latest version, and then Install.

Once MicroPython is installed and you reset the RP2040, press the STOP button at the top of the Thonny screen. You should now see the MicroPython version and the prompt appear.

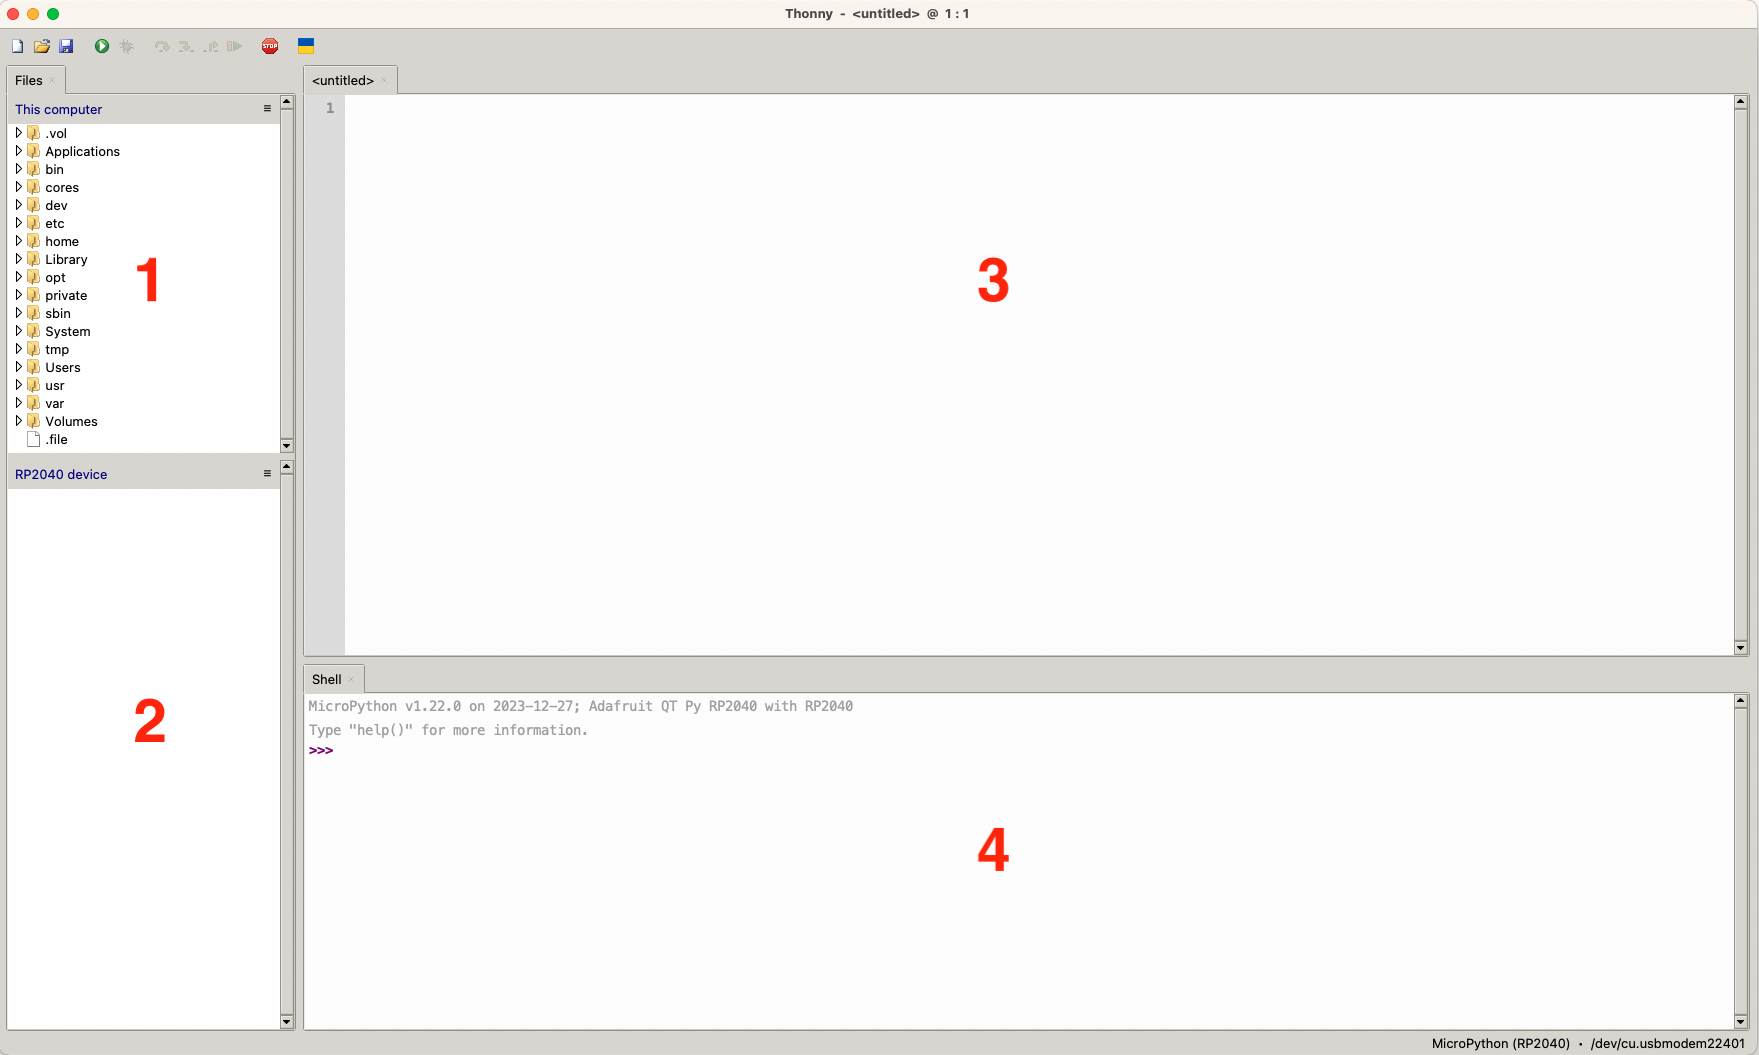
Thonny has 4 sections visible by default: The local file system (1), the device filesystem (2), the code area (3) and the shell (4). These can be changed under the view menu item. I’m not going into much detail about Thonny as there is plenty of information elsewhere.
We will first create a lib directory on the device to store the module for the display. So right-click on the device directory panel, select “New Directory”, and call it “lib” (all lowercase). If it freezes, which did happen to me a couple of times, go back to the start and load the MicroPython firmware again.
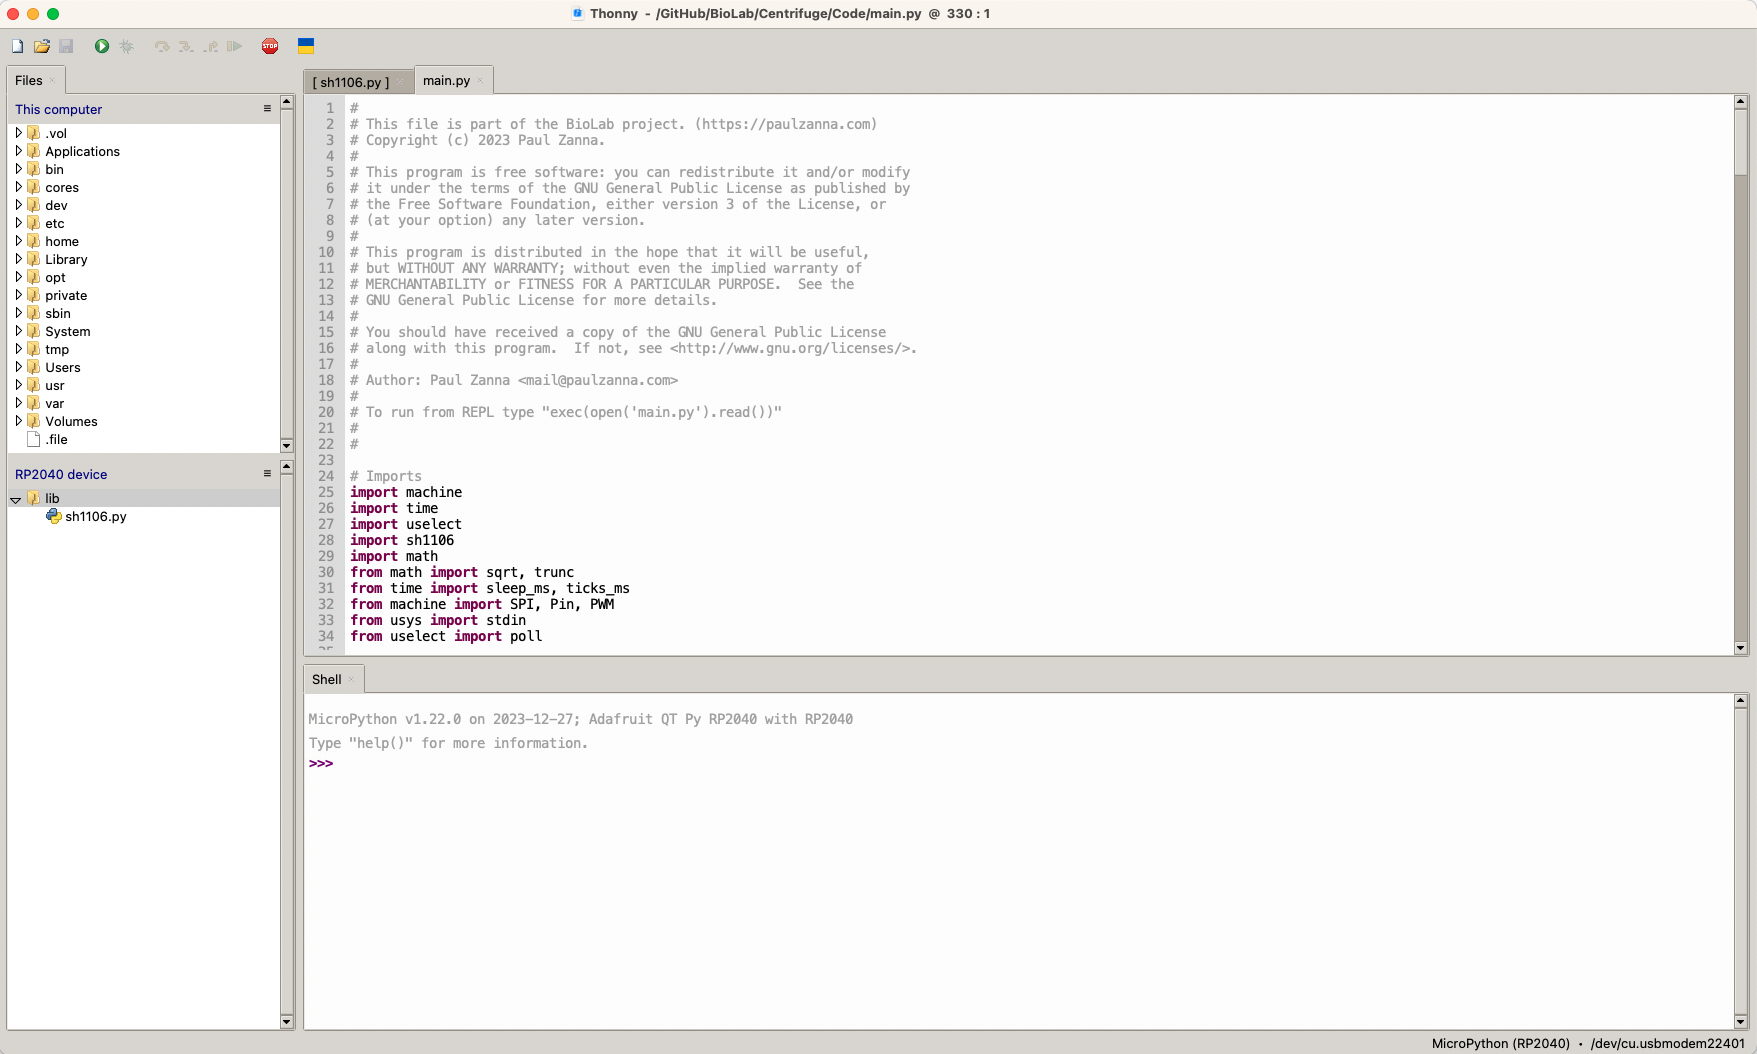
The code for the centrifuge is on my BioLab GitHub repository, so go get a copy to follow along. There are 2 files in the repository - sh1106.py, the display module, and main.py, the actual centrifuge code. Open the sh1106.py file in Thonny, go to file>Save as, and select save to RP2040, putting it into the “lib” directory you created earlier. Now you can open main.py in Thonny also.

You only need to hit the green play button, and the code will start running. You will see the debug output in the shell panel.

To make the run without being connected to the computer, you need to save the main.py file to the device’s root directory and reboot.
So that’s it, you should have a finished centrifuge. In the last section, we’ll test it out, review the bill of materials, and see what it all cost.